Showing posts with label Sewing. Show all posts

Monday, March 12, 2012

Sewing - A Regency Outfit: Part 2

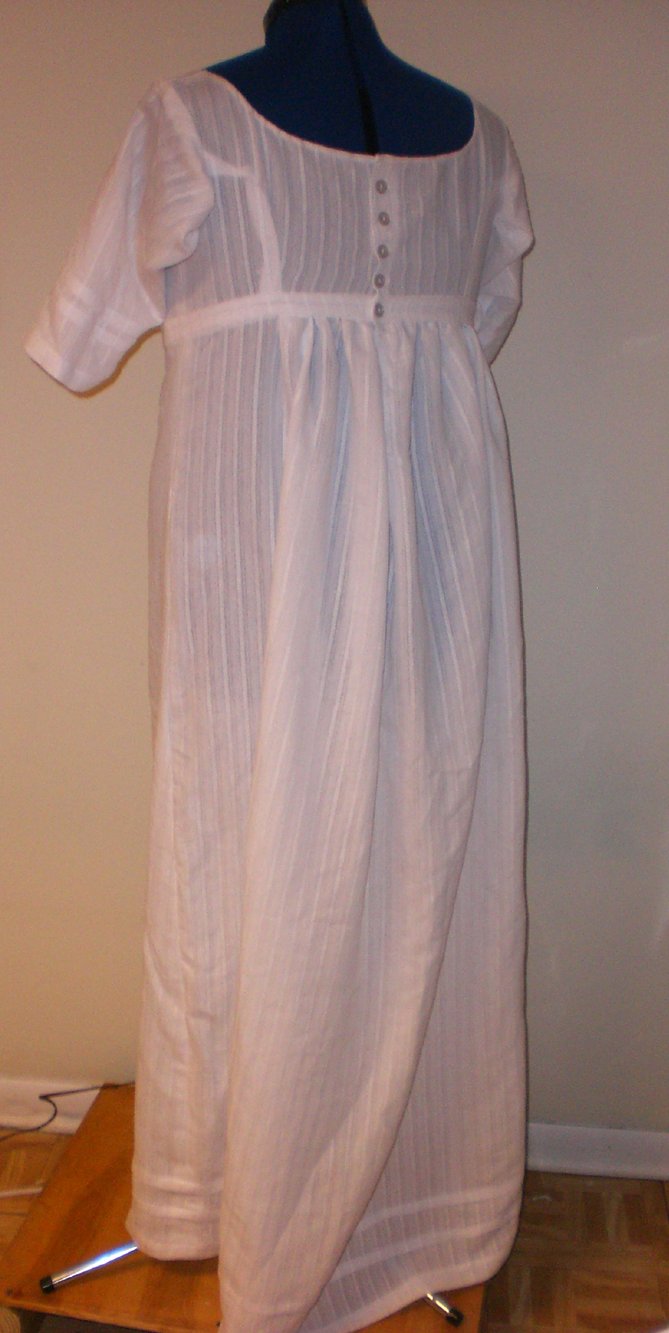
And now the conclusion of my Regency outfit! And it's also my birthday! This gown was inspired from Elizabeth Bennet's gown from Pride and Prejudice (1995). I used Simplicity's Regency Gown Pattern, but made some alterations.

Front of the dress

Back of the dress

Back Close-up.

Pintucks! There are pintucks on the sleeves and the skirt.

Skirt pintucks! I'm really happy about the skirt pintucks!


 God Bless,
 God Bless, Miss Elizabeth Bennet

Saturday, March 10, 2012

Sewing - A Regency Outfit: Part 1

Wow, a long time since I post any about my sewing. I've been hard at work on a big sewing project, which I mentioned here. Well, I'm finally going to reveal it! I'm including a "Read More" jump since this is going to be pretty picture heavy.


I sewed an entire Regency Era outfit, starting with the undergarments (must keep period accurate, after all!).


The Chemise

First, the chemise, which was a loose fitting under dress.

The Neckline was adjustable with a drawstring for different Regency dress necklines.

The sleeves. The seam instructions they had in the pattern were GREAT! They looked very neat inside and out!

The Stays
The stays went on top of the chemise to keep the stays clean. Note: on the dress form, the stays may not look exactly right.

I'm not sure this is 100% accurate. Cross-lacing, I thought, was first used in the Victorian era, but at the pattern website, the stays were shown like this. * Shrugged Shoulders*

Side View. For boning, I used thick cable ties that I got from Lowes. They're cheaper than buying boning from Jo-Ann Fabrics and they do the same thing.

Back View

Laid flat on a table.

The Petticoat
On top of the chemise and stays went the petticoat. Since my Regency dress was unlined, this was essential, but if the dress is lined then you could forego the petticoat. The petticoat was pretty much a Regency dress that was sleeveless.

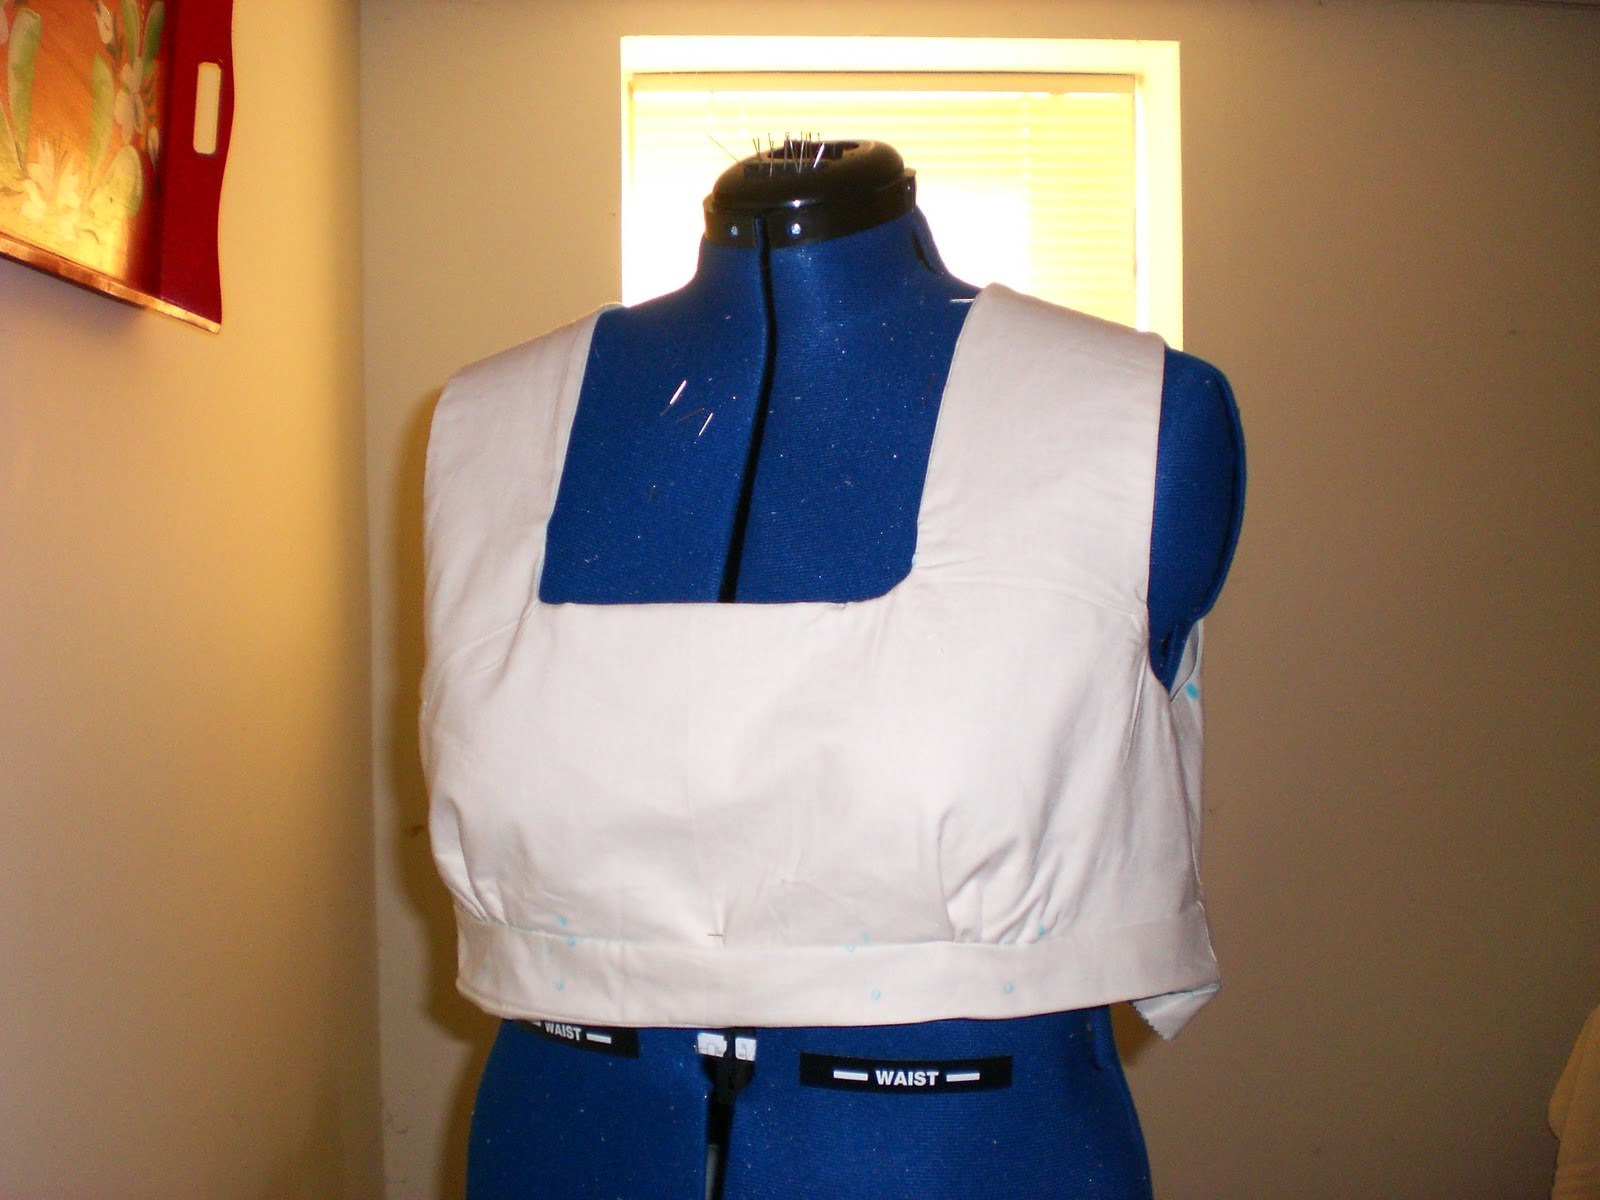
Bodice

The Bodice also had a drawstring.

Backview

The back was secured with lacing and a drawstring at the waist.


Stay tuned for Part 2: The Regency Dress!


 God Bless,
God Bless, Miss Elizabeth Bennet

Wednesday, May 11, 2011

Ordering Fabric Online?


Finally, I'll be able to get back to my sewing again! Hopefully this summer I'll be able to finish the projects that I've been working on (and post pictures!).

I've been wondering how people feel about ordering fabric online. I never tried to order fabric online: I am a little skeptical. I know it's best to inspect the fabric before you buy it (to make sure it's what you want), but sometimes when I go to JoAnn Fabrics and I can't find what I want. I almost want to consider buying fabric online, but I'm still very hesitant to do so. So I was wondering:

1. How do you feel about ordering fabric online? Has it been a positive experience for you or negative?

2. Where do you look for fabric online? Any particular websites?

3. Do you usually find what you are looking for?

4. When you buy fabric at a brick and mortar store, where do you usually shop?

5. Are there any tips that you could offer to anyone buying fabric online? Or even in a regular store?

If you would like to answer these questions, please leave a comment. I would also like to do another post about what some of your comments are in case other readers might be wondering the same thing I am: I'll give you credit and a link back to your blog.

Thank you!

Tuesday, December 14, 2010

Sewing - Dog Jackets

I did these jackets for my dogs a few years back. Though they have sustained multiple washings, they are still in pretty good shape.

A few years back, my mom noticed that during the winter and especially after my dogs got groomed, our one dog (who spends a lot of time looking out the window) was shivering. We had to do something about that, so she found a pattern and fabric at JoAnn Fabrics and asked me to sew them winter jackets. Pictured here are the second pair of jackets that I made (the first pair of jackets got old and were a little short along the back).

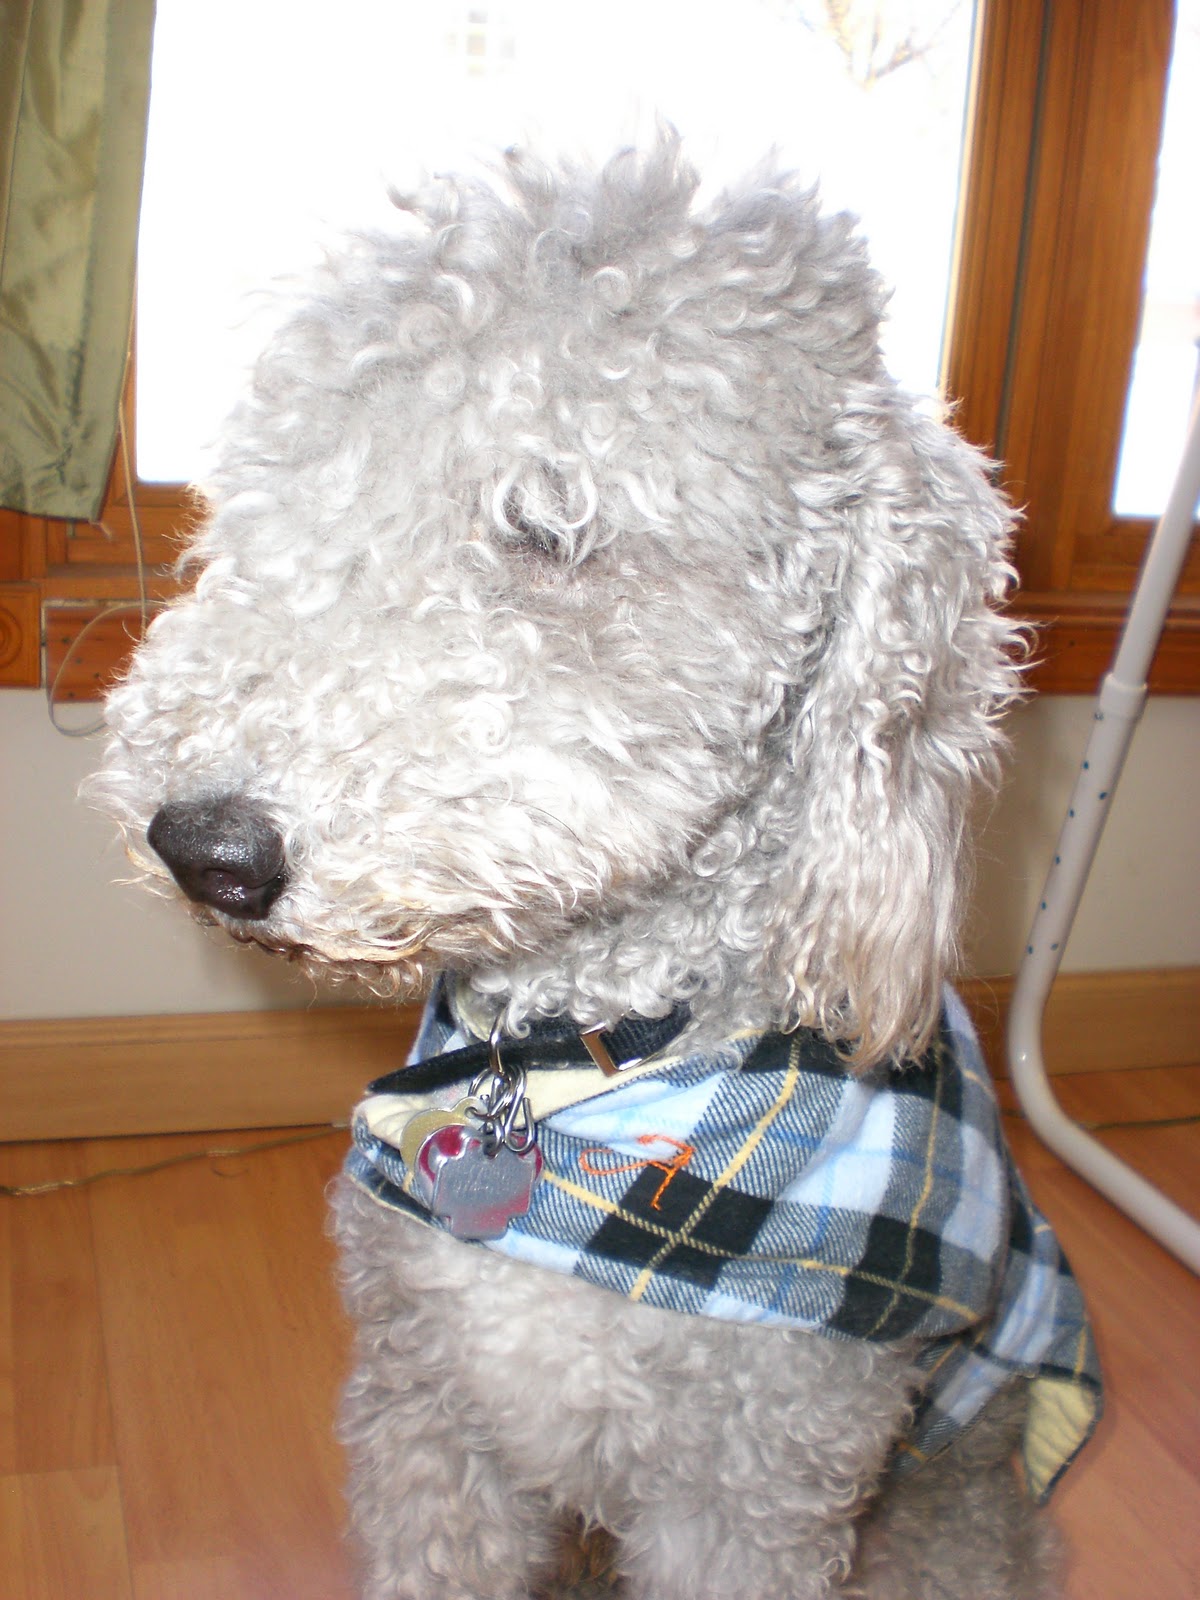
Ali, our male dog.

Ali on the look-out... and in warm comfort.

Coco, our female dog.

Coco sleeping in warm comfort.

So there are the jackets. I believe that the fabric is flannel; it has the blue plaid print on the outside and plain yellow on the inside. The straps run across the dog's chest and along the stomach and are secured with velcro.

Ali looking very nice and showing the monogram
On one of the chest straps, I embroidered a monogram on each of the jackets. Since both jackets are the same colors and since Coco is a little smaller than Ali, it made sense to put some sort of mark on them to tell the jackets apart.


Ali's Monogram

Coco's Monogram


Here are some close-ups of the monograms (you can click on the pictures for a bigger picture). I drew the monograms on the jackets then embroidered it before sewing the two inside/outside pieces together. Now we can tell the jackets apart when we put them on the dogs.

Not only do these jackets look good, but they also have the purpose of keeping the dogs warm. They really like the jackets: in fact, if one has their jacket on, the other one will look at you and wait for you to put their's on. Obviously these jackets are only for the winter time; once the warm weather comes, the jackets go into storage.

Friday, November 19, 2010

Dress for Wedding

A couple of weeks ago, I mentioned that I was making a dress to wear to a "formal event." Well, here it is!


And the formal event? It was my cousin's wedding. This dress lasted me the whole wedding and the whole evening and it was still comfortable to wear!

The dress was made out of light blue charmeuse. It is asymetrical and full length. It was also made with Simplicity 2692.


Here are some close-ups of the bodice. The bodice is gathered in the front and is connected to an ungathered "midsection", which is also connected to the gathered skirt. For the wedding ceremony, since it was in church, I wore a shawl since the dress had no sleeves. It worked out pretty well!

Friday, October 15, 2010

Regency Apron

If you remember, about a week ago, I posted a sneak preview of my next sewing project. Did anyone guess right?


Well, to reveal what it is... here it is!


Tada! It's a Regency Era Apron! This was made out of ivory colored cotton. I used the pattern Butterick 5509, view D.

Side View
Back View
 I made this pattern within a couple of weeks (I took a week off of sewing because I was a little busy). I had fun working on it (as I do with most of my sewing projects).

Here we have a close-up of the back ties. The ties are not pre-tied: they can be adjusted to fit anyone.

Here is the close-up of the front bodice. There is some gathering along the bodice and skirt.

Meanwhile, I think I'm getting a little better with hemming neatly!
 
And, of course, what would a Regency Apron be without a Regency dress? Well, an apron.


So, there's my new apron. I'll have to start my next project soon, so in the meantime, enjoy the apron and the period drama reviews!

Sunday, October 3, 2010

Family Event Dress

My apologies for the long wait for this update. I have been busy in the last couple of weeks.


Onto the dress. The sneak preview that I mentioned earlier with the two fabrics, the secret is now out. This dress was intended for a family gathering. It was made with Simplicity 2692. It is a simple, blue dress.


Here are the front, back, and side views of the dress. It's an asymetrical, tea length dress. The one side has a tied strap, while the other has a regular strap. There is a zipper at one of the sides of the dress.

Here is the bodice. It is gathered along the bottom of the bodice and on the regular strap.


Here you can see the lining. It is lined in a white lining material in the bodice, midsection, and skirt.

Monday, August 30, 2010

Graduation Dress

So, for my graduation, my school said that all the girls had to wear a lightly colored dress and white shoes. Looking in the stores, I realized that a lot of the dresses met the standard and appealed to me. So, I decided to make my own dress. It is made out of a bridal fabric and has a blue ribbon across the waist. It is made with Butterick 5322.


Here are the Front and Back Views. There is featherweight boning in the bodice so that it will stay up. The dress is secured in the back with a zipper.


Here are pictures of the back skirt and bow. The bow was not the way that I wore it to graduation because I was the only one who knew how to tie it, so the pictures here are just for show. The bow pictured is actually made up of two pieces of ribbon: the one attached to the dress and an extra one.

So that's my graduation dress.